To make a website into an app, you wrap it in a native Android shell that opens your pages in a WebView — the same rendering engine as Chrome on Android, with the browser's address bar and tabs stripped away. Your site is untouched. What you add around it is a launcher icon, a name, a splash screen, a package name, a version number and a signature, and the result is an APK that installs on any Android phone. With a cloud builder like Make Website to App the whole thing takes about five minutes and costs nothing.
This guide is the whole path, in order. If you only have a live site, you can skip the file-preparation parts; if you have a folder of HTML, do not skip them.
Decide what you are starting from
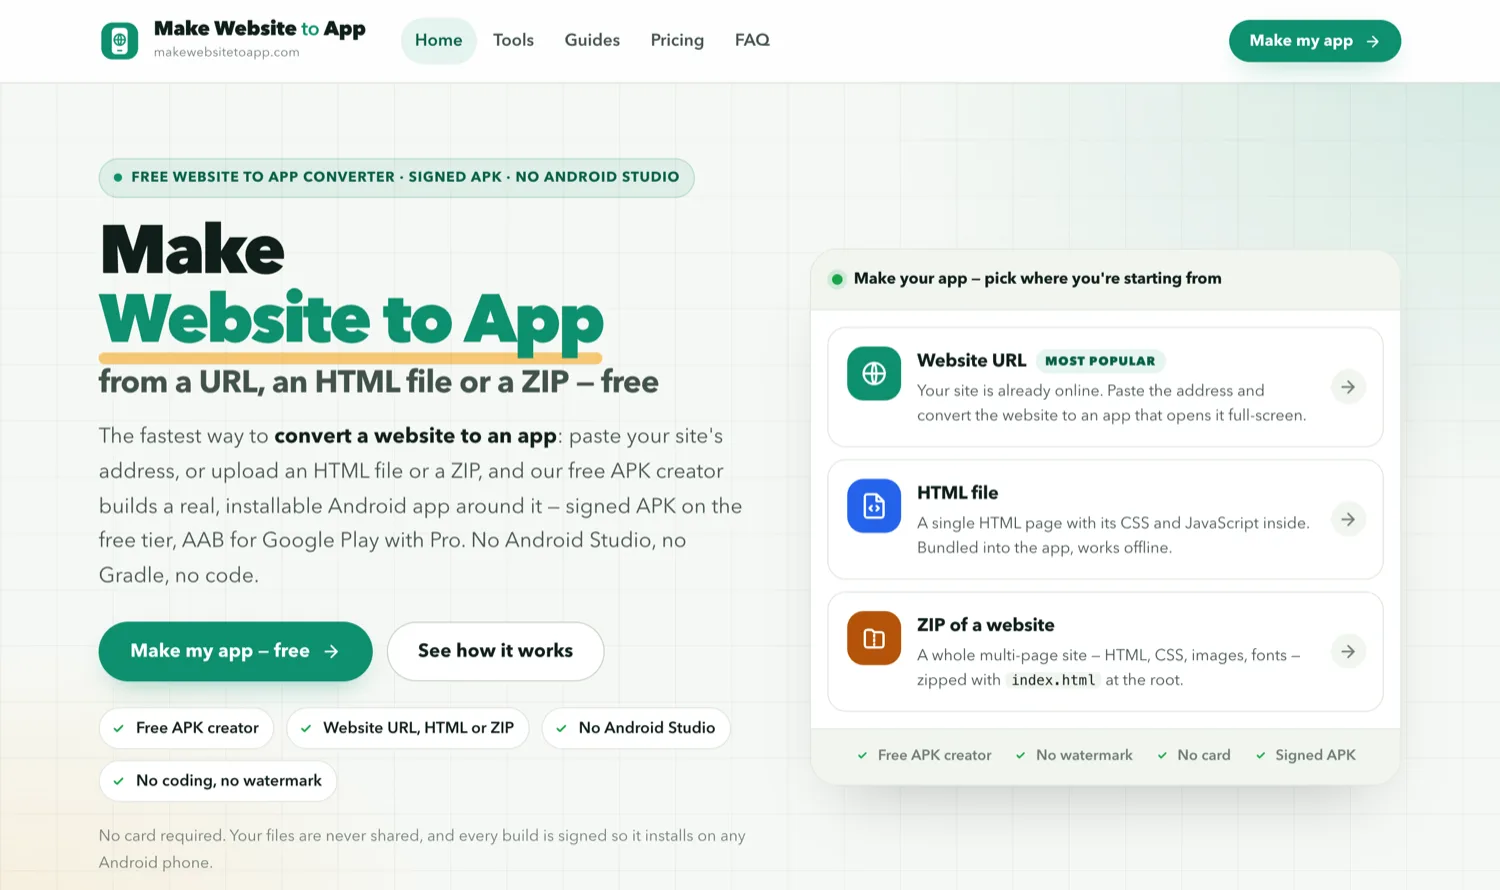
There are three inputs, and the choice decides how the finished app behaves:
- A website URL. The app opens your live site. Every change you publish on the web appears in the app instantly, nothing to rebuild — but the app needs an internet connection. This is the right choice for WordPress, Shopify, Wix, Webflow and any site with logins, carts or dashboards.
- A single HTML file. One page with its CSS and JavaScript inline. It is bundled into the app and works with no connection at all. Calculators, HTML5 games and small tools live here.
- A ZIP of a website. A whole multi-page static site, bundled and served from the device. Works offline, opens instantly, and every update means a new build.
The rule of thumb: if the site changes often or depends on a server, use the URL. If it is finished and should work on a plane, bundle it. The URL route and the bundled route each have their own guide.
Step 1 — Get the content ready
For a URL: make sure the site is live over HTTPS, works on a phone-sized screen, and does not block itself from being framed (a few security headers do). Open it in Chrome on a phone; if it looks right there, it will look right in the app.
For an HTML file or ZIP: three rules decide whether it works once bundled. Paths must be relative (css/style.css, never /css/style.css). Everything must be included — a font from a CDN is a blank space offline. And there must be no <script type="module">, which is blocked on bundled pages and is the single most common cause of an app that opens to a white screen. Our validator checks all three without uploading anything:
Step 2 — Make the icon
Android wants five launcher sizes, a round variant, an adaptive foreground and a 512×512 for the Play Store — each in a specific folder. The builder generates them all from one square image, so what you actually need is a single 1024×1024 PNG with your logo on a solid background. Design it for the small end: at 48 pixels a detailed logo is a smudge. One shape, strong contrast, no text. The icon guide covers the safe zone and the mistakes that get icons cropped.

Step 3 — Choose a package name you cannot change later
The package name — Android calls it the applicationId — is your app's permanent identity, written as a reversed domain: com.yourshop.app. It is how Play identifies the listing and how a phone decides whether an install is an update. Once published it is fixed forever; changing it creates a brand-new app with zero installs and zero reviews.
Rules that bite: lowercase only, at least two dot-separated segments, no segment starting with a digit, no hyphens, and never com.example — Play rejects that outright. If you own the domain your site lives on, reverse it and add a word:
Step 4 — Set the version
Two fields, two jobs. versionName is the string people see ("1.0"). versionCode is an integer Android compares to decide what is newer, and Play refuses any upload whose code is not higher than the previous one. For a first release, 1 and 1.0 are correct; pick a scheme now so updates stay simple.
Step 5 — Build in the cloud
Sign in to the builder, choose your input, and fill in the name, icon, package name, version and theme colour. On the free tier you can also switch on a page loader, pull-to-refresh, and the camera, microphone and location permissions if your site uses them. Press build. A real Android project is generated around your website, compiled and signed on our servers, and a few minutes later a signed APK is ready to download. Nothing is installed on your computer.
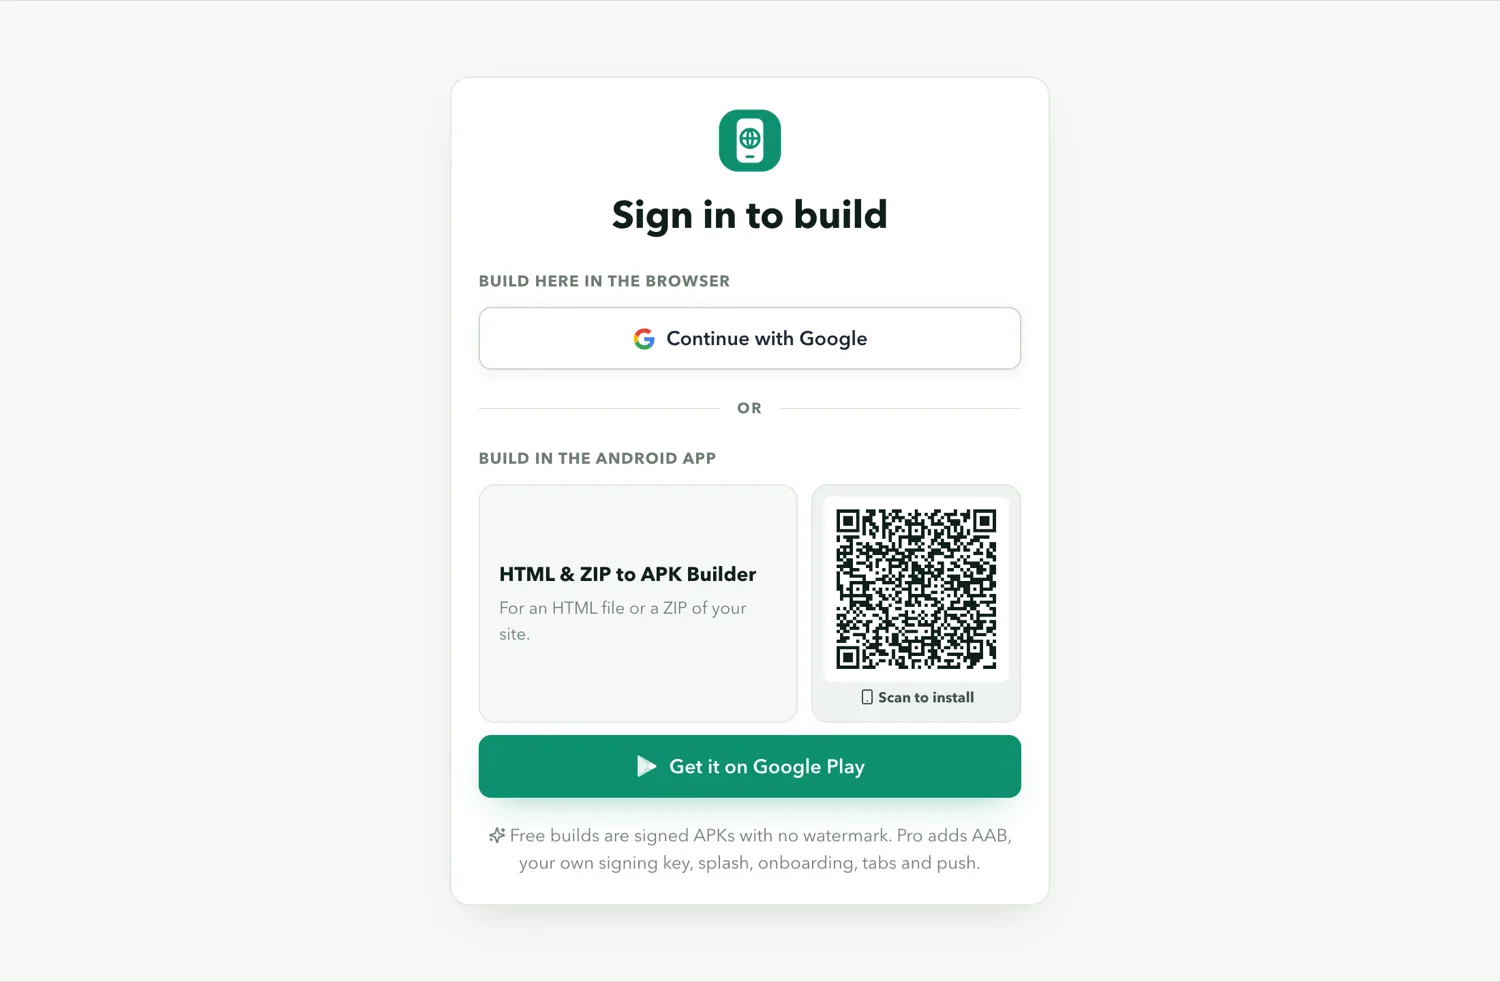
Two things about what comes back. The app is signed, because Android refuses to install an unsigned APK. And if you ever plan to publish on Google Play, the key that signs your first release must sign every release after it — which is what Pro's own-signing-key feature is for. What the free tier includes, exactly →
Step 6 — Install and test on a real phone
Copy the APK to an Android phone and open it. The system asks permission to install apps from this source — expected for anything not from the Play Store, and the toggle is per-app in Settings. Then test what browsers and emulators hide:
- The back button. Does it step back through your pages, or close the app from the first tap?
- Rotation. Does the layout survive landscape?
- Offline. Turn on airplane mode. A bundled app should be unaffected; a URL app should show something useful, not a browser error.
- Forms, uploads and logins. File inputs and third-party sign-in flows are the things most likely to differ from the browser.
- External links. A link to another site should open the browser, not strand the user inside your app.
If something is wrong, the fixes guide lists the eight problems that account for nearly every report.
What to do next
If the app works on your phone, you have two directions. To share it directly — with a client, a test group, a QR code on a poster — the APK is already what you need. To publish on Google Play you need an App Bundle (AAB) instead, a developer account and a store listing: see APK vs AAB and publishing a website app on Google Play.